Showing posts with label quilting tips. Show all posts

9.23.2025

Surgery For Mickey

One of Mickey’s FPP* blocks somehow got stretched out of shape. Not sure if it was made on the bias and I pulled too hard taking the paper out or if I trimmed it incorrectly (or not at all…) 

Of course, it couldn’t be in a place where it would be an easy fix. What’s the fun in that?? (And yes, I did think about leaving it…)

(Notes for next time.) Rather than rip out the bottom two rows and remake them, I removed row #8 (and used the opportunity to rearrange some colors), then carefully frogged** the first few blocks in row #7, leaving the next block with the seam partially open.

Remade the offending block and sewed the first three blocks back together. Sewed the vertical seam to join both parts of Row 7

then pinned 

and sewed the horizontal seams to reattach Rows 7 and 8. Easy peasy. Ish. 

The last 2 AHHna blocks are almost finished, hoping to have them done tomorrow.

Then all the ghosties get attached to each other and we’re off to the races long-arm quilter. So excited. 


* FPP - foundation paper pieced. ** Frogged - ‘rip it’ sounds like a frog’s ‘ribbit’. 


1.16.2025

Squirrel!

Our weekend getaway put me several days behind on the declutter challenge (worth it!), plus Jac and Donovan have been here every afternoon after school. Rather than stress about being behind, I’m going to wait for the weekend to play catchup. There are several areas I still badly want to do, and we’re just getting to fabrics in the videos, so… I’m still in. 
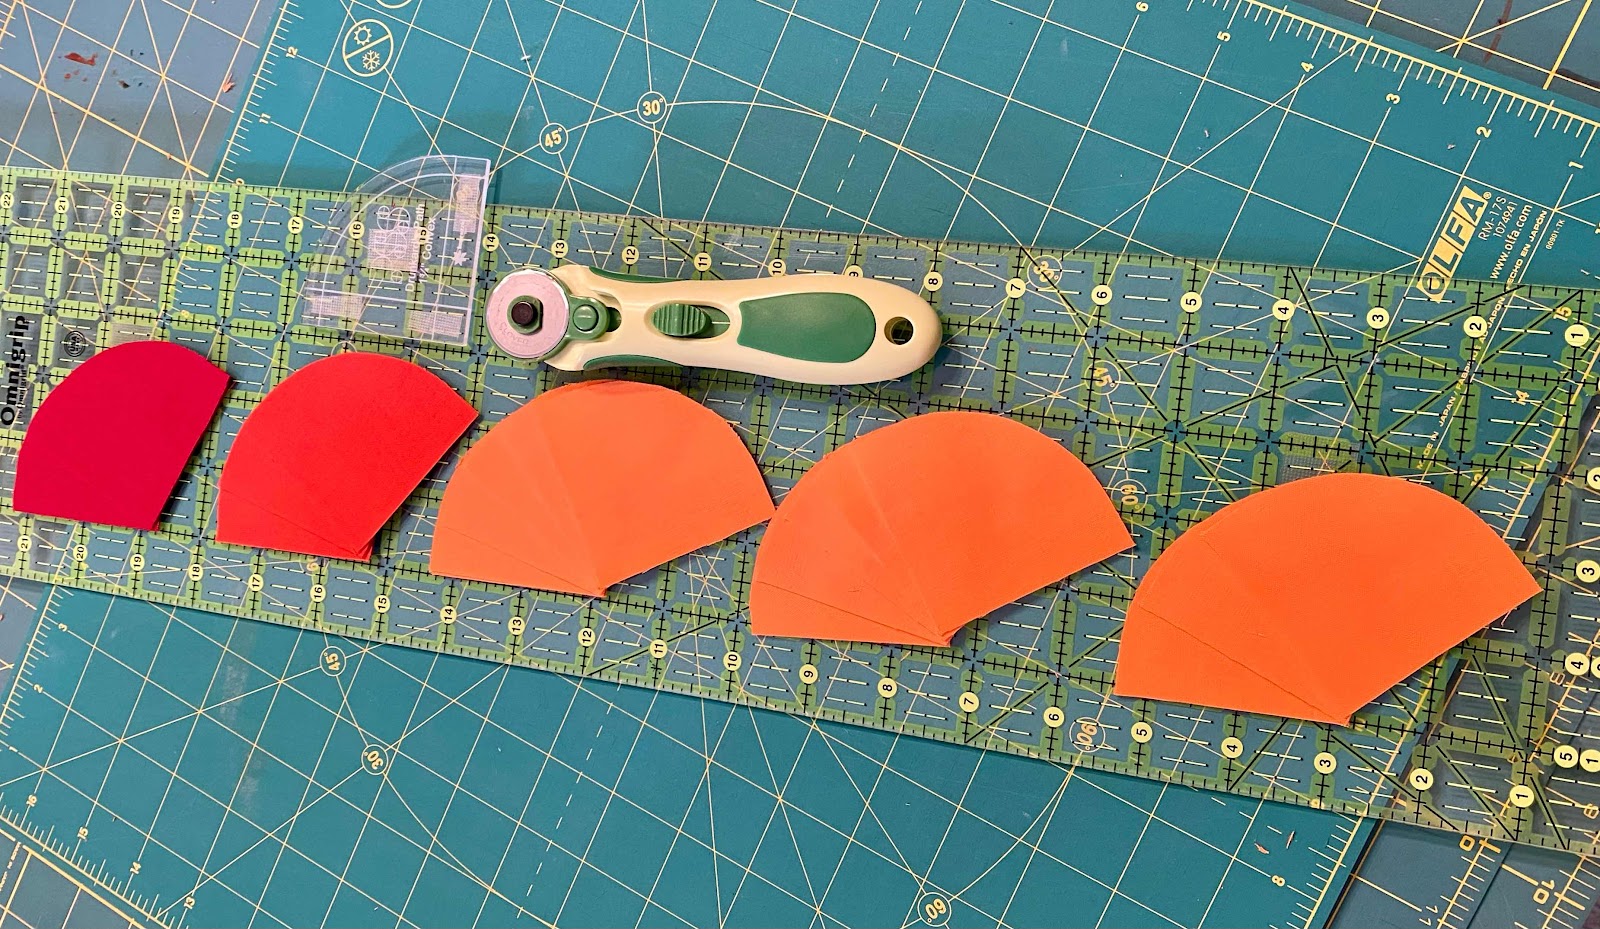
I haven’t been much interested in quilting for awhile, but I saw this pattern… and the related quilt-along… 

and thought about the pretty fat quarter bundle in my stash… and quick as you can say “squirrel!” I was signed up. 

The quilt along is 5 weeks, with Week 1 encompassing choosing and cutting fabrics, plus making several blocks. Not sure I’ll be able to keep up with the schedule but I’m going to try. 

Jac: “Grandma, that looks just like a heart!” Looks like I’m doing it right. 🤩

Tip to remember: the lines on index cards are 1/4” apart, so when starting a new project you can check your needle placement using the lines. And it works! Gotta remember this…


7.20.2024

One Done, Start Anew

Finished this on Friday, from a kit I bought in May and started sewing July 2.

Thought it would be a quick finish, 

but while I love the design and it’s an easy pattern (18” blocks! Whoo!), 

And yes, I fixed that seam…

the fabric frayed so much it was miserable to work with. Note to self: do not buy Confetti Solids Dapple Dots.  

I was torn about what to start next.

I love this pattern for a sew-along that starts in August - but cutting and sewing 392 individual 2.5” squares?? May need to think about that some more…

Instead, I pulled out the Shibori Jewelbox project I’ve had on the back burner since at least 2018 (bought additional fabric for it during the 2019 quilt run.)

Done: 126 half-square triangles from the 8 fat quarters.

Pending: 63 of these from the 2 charm packs, 

which are halfway to becoming 126 of these, using this tutorial.

Then it’s just a matter of sewing the blocks together. 

Easy peasy. Pretty excited to finally be working on this one. 


2.18.2024

Binding Chicken

 When it comes to playing binding chicken*, you win some 

Leftovers - a little too close for comfort

and you lose some. 
Short by less than 3”, dang it!

This is the first time I’ve had to make franken-binding - sewing scraps together to make big enough piece to finish a project.

But it worked!


* Binding chicken = will there be enough binding to make it all the way around the quilt??


2.16.2024

Ziggy Quilt

Ziggy, aka the “this thing is never going to be done” quilt, is finally finished. 

The idea was to use up the remaining fabric from Spike Strip (here)

and get more practice making different types of half rectangle triangles (HRTs).

“B” HRTs

HRTs are different from half square triangles (HSTs) in that HSTs are all made the same way and can be rotated into whatever position your design needs. 

Adding “A” HRTs

HRTs are either right-leaning or left-leaning, no rotating one into the other, and you need to plan which one you need where. 

And why was this ‘never ending’? It was supposed to be a quick, short quilt, just a practice drill and on to other things. 

But I didn’t like the half-row arrowhead-y things ⬆️ …

and then it was too skinny and out of proportion (38x61” is not pretty) …

and I might as well use up allllll the remaining fabric …

45x61”

Yeah. It’s finally done - there are exactly two 4x8” pieces of fabric left. Hooray! - and hubby and I both love it. (It’s still going to charity unless someone I know wants it . . . Speak up if that’s you!)


Things to remember for next time: fabric pieces must be 2:1 ratio- don’t try to fudge it. 

When sewing triangles together, leave a 3/4 to 1” “dog ear” on either end rather than the usual 1/4”. 

To trim up, place ruler and cut slight amount off top and one side; flip entire block and slide ruler to correct size, then trim remaining 2 sides. 

Good BlocLok HRT videos here


10.06.2023

New Trick

I’ve never made quarter square triangles before. They always seemed (a lot!) more trouble than they were worth. 

Then I found this tutorial and sizing chart. Whoo! This looks doable. (Missouri Star has a tutorial too.)

Make 2 4-patches,

sew them together, 

cut them apart,

press and admire. Soooooo easy! Now to make a bunch more . . . 


3.27.2022

Glitter Bomb

My plan for the weekend was to catch up on my Glitter Bomb Ball homework.  


Last month we did the big circles in the center column - sewing drunkard’s path curves with no pins! Whoo! -


and I was afraid this month’s tiny circles were going to be much (much!) harder. 


I tried the ‘no pin’ method twice before giving up. Hey, what’s a dozen+ pins among friends?? Gotta go with what works.

 Trimming down. Look at that pretty curve!
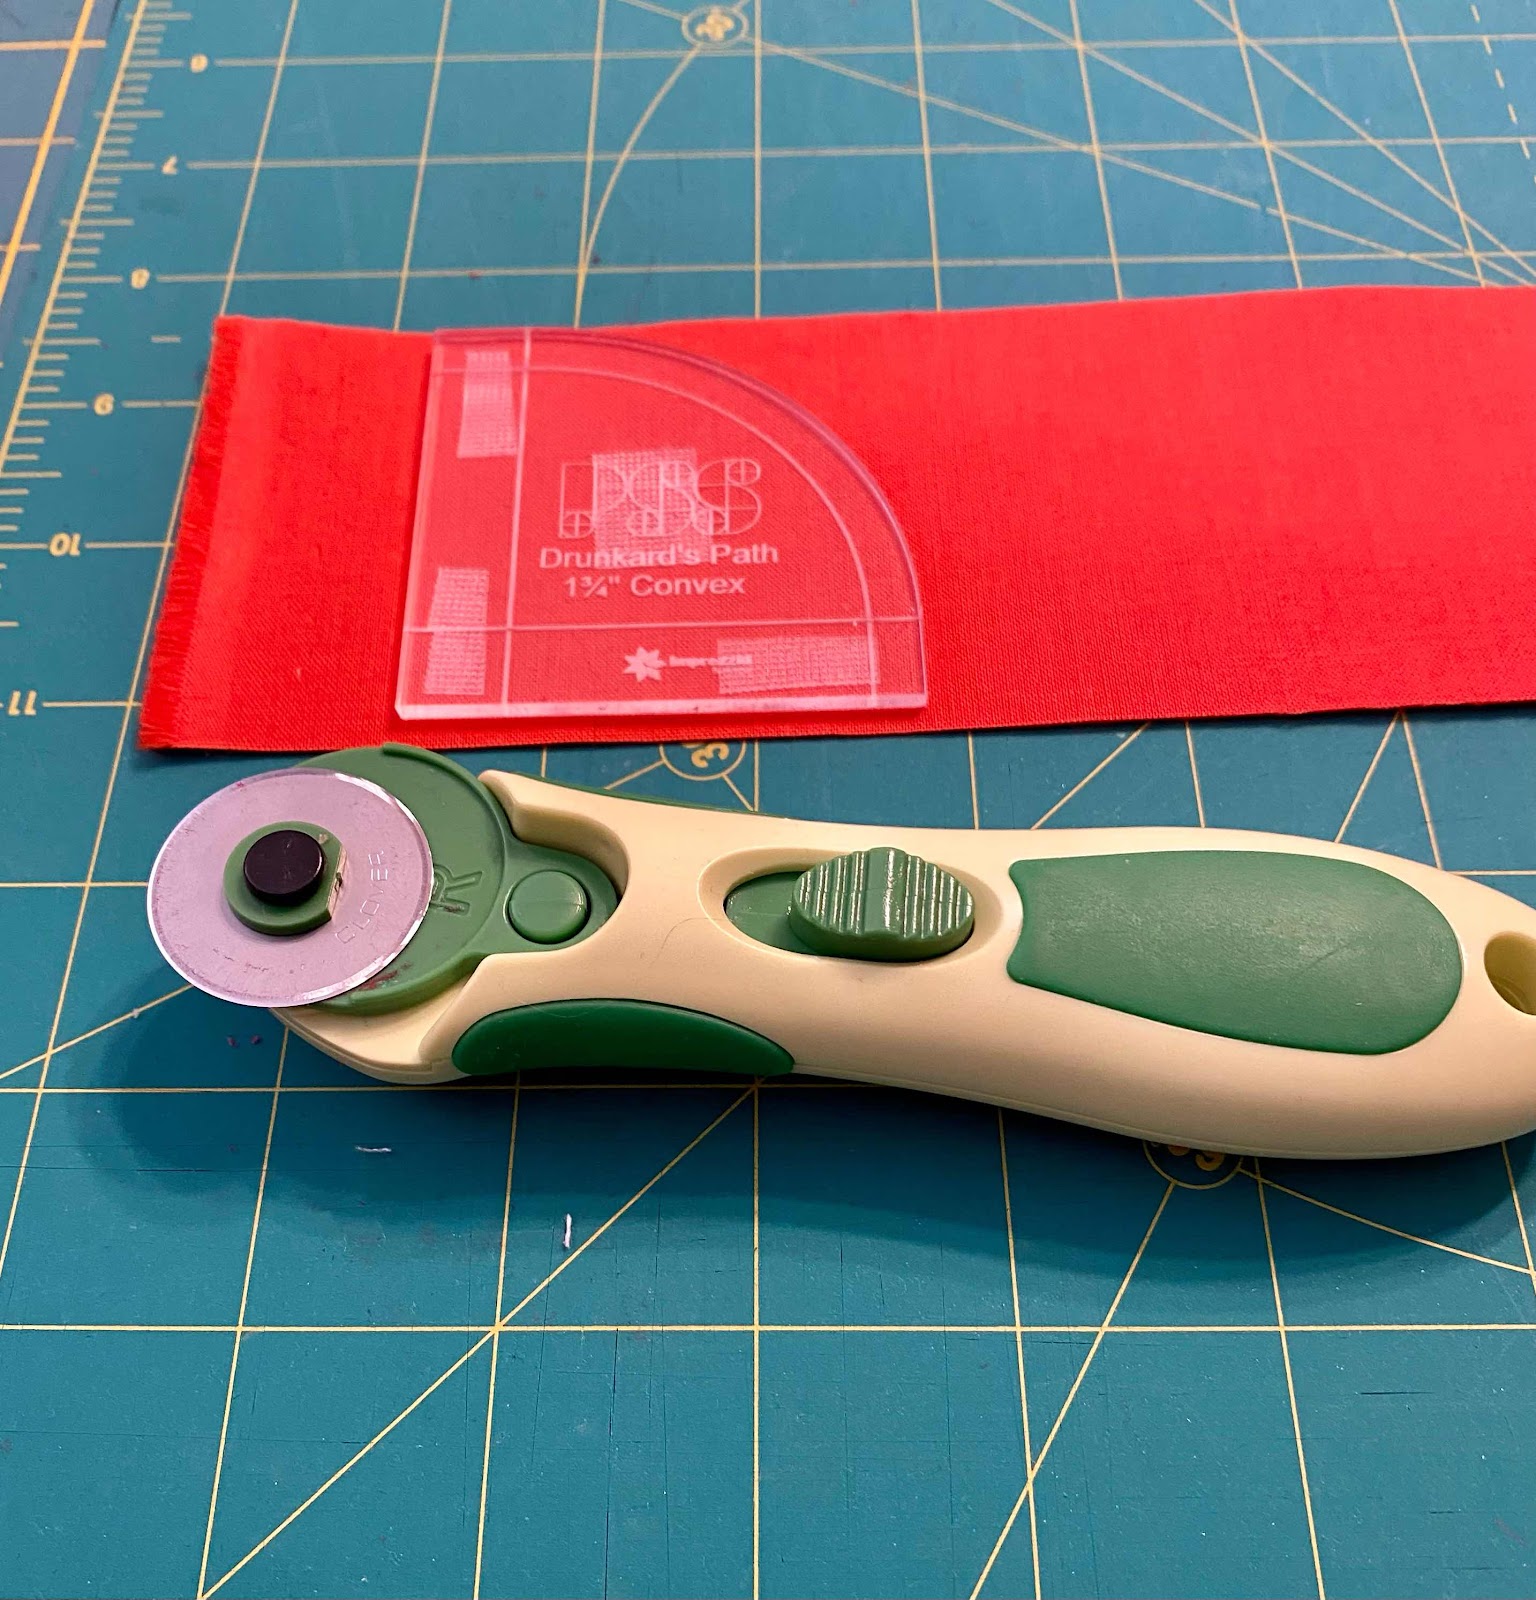
But thanks to Clover extra-fine pins - which can be sewn over without a problem - 


and a new ergonomic (and fantastic) 28mm rotary cutter, also by Clover, things are looking better than I’d hoped. 


I’m a long way from done, but the 5 little circles are finished; the 8 half-circles for the two outer most columns are started;


and then its just putting the pieces together. Piece of cake Yeah, this is going to take awhile.